See Part I here.
Now that I had the basic parts of the miniatures painted, I looked and started to find some more advanced techniques to try. Here is a whole list of advanced painting techniques I found with links. These links had everything I needed for the stuff I tried out below.
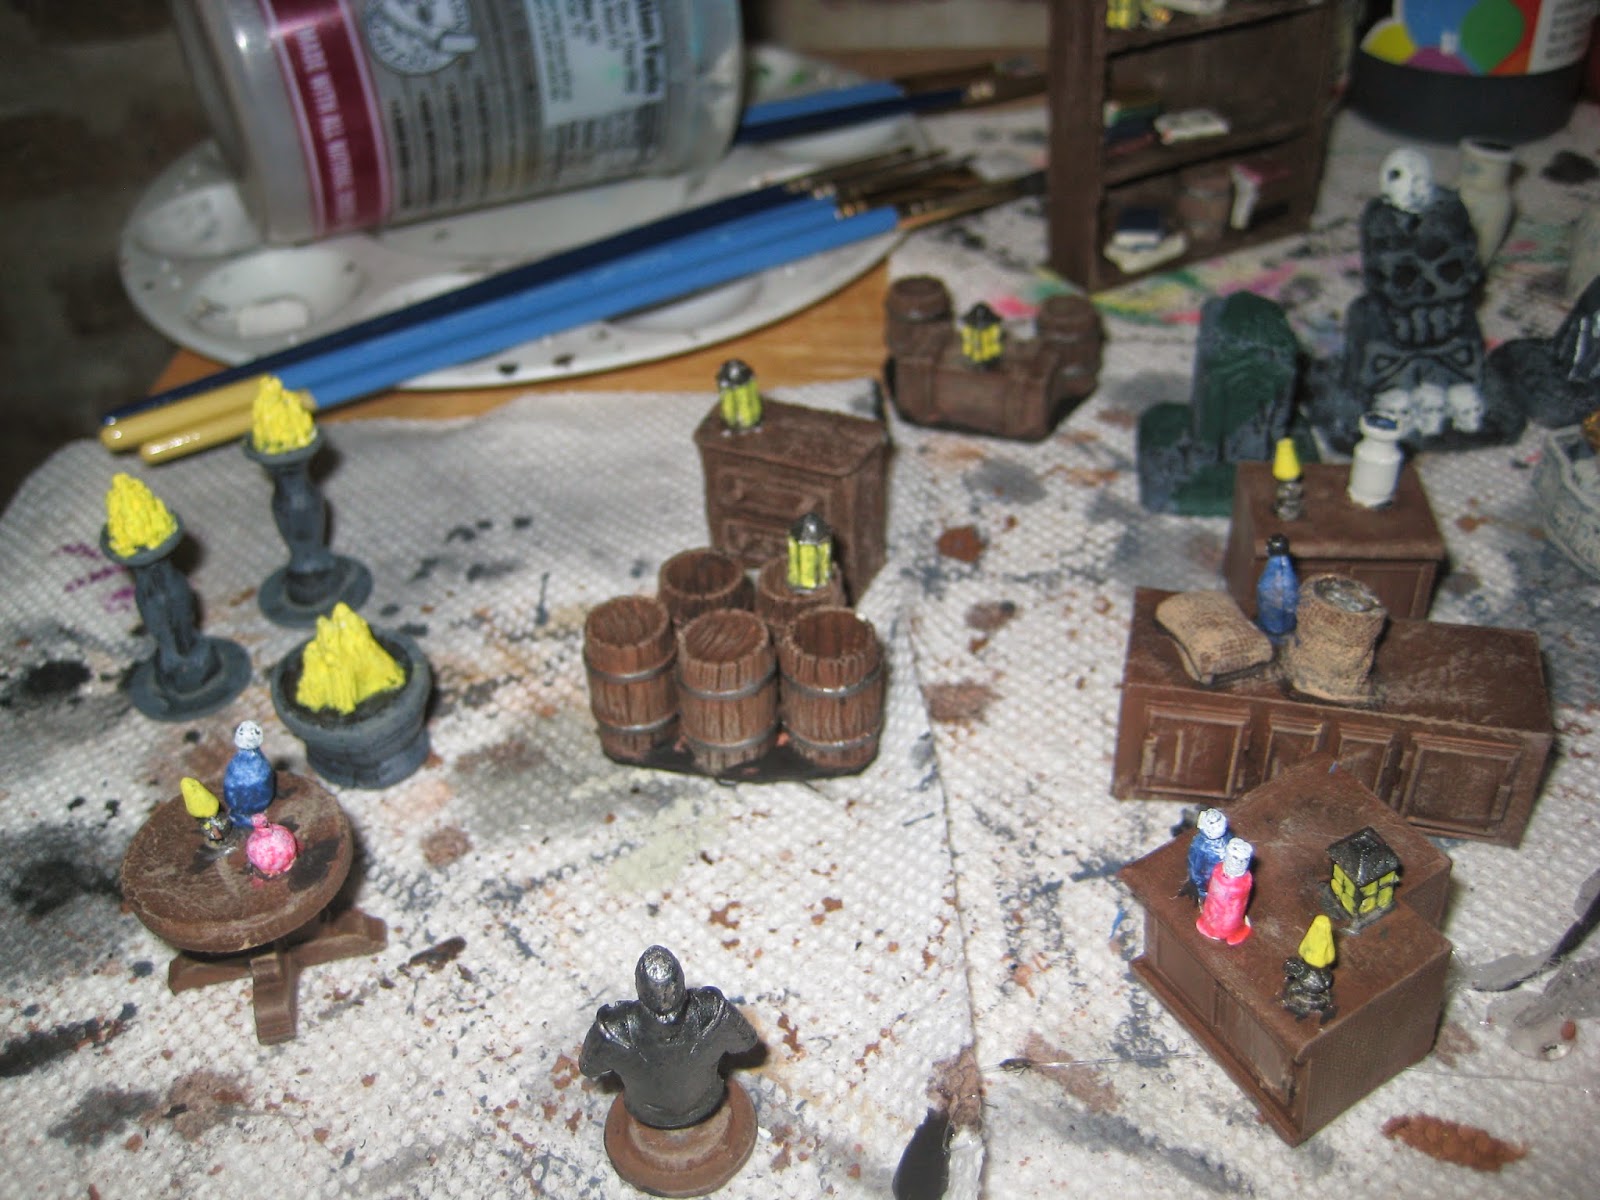
Here is where I started with a base of color for everything. It took a few coats to cover the white in the gemstones, but they look brighter for it.
The flames and lanterns I gave a base of bright yellow. The bottles I did a mix of blues and reds, but I changed my mind later and went with green bottles instead to represent wine bottles.
The fires and lanterns I then hit with an orange and then with just a little red and a final sprinkle of black on the tip to give it a smoky feeling.
The gems I hit with a light and dark version of their respective colors in the method as colors in part I. I thought my sarcophagus looked a little boring and remembered from my Egyptologist grandmother that the inner coffin was usually the most elaborate. I decided to add a trim of gold and rubies for eyes.
For a few of my pillars, I wanted some flair. The obilisk got a shiny black, obsidian trim and a sandy base made of simple white glue and baking soda. I brushed it lightly after it had dried to get rid of any loose powder and then painted it. It turned out really well as a miniature sand, where actual sand looks like gravel or small stones in a miniature scale. I added a little growth to one broken pillar, with flocking made with twine. Lastly, for the bloody pillar, I mixed a darker, wine red with some white glue to make it a little more goopy.
The bookcases... oh these I wasn't sure I was ready for. I took a while to figure out what I wanted to do. Luckily, I found a good glass bottle tutorial. After a few tries, and some accidental coloring of the bookcase (notice the "spilled" bottles) I think I got half-way decent look on these. I tried some interesting bottles of black splotches (originally intended to be eyeballs or maggots, but w/e), a golden potion, and a blood filled vial.
Take a look at my finished dungeon accessories! If you have any questions or suggestions for a better paint job, I welcome your comments.
 |
| What's that secret project in the back there? |
Pistachios.
See the final post, Part III.


Comments
Post a Comment