So a while ago, I supported the Itar's Workshop Kickstarter for a large number of dungeon dressing items. Itar's Workshop is a cool shop that licenses Hirst Arts molds, and with nice investments in molds and molding machines, produce high quality terrain and tiles. I was more interested in the dungeon accessories because I default to the less expensive 2.5D style originally coined by DMScotty that uses cardboard based tiles. Take a look at their website for more stuff that they make (albeit at a higher price than I paid during the Kickstarter campaign. I am ecstatic to have some high quality dungeon accessories to run in my games, and I am quite happy with how these all turned out.
This is my first attempt at some real miniature work, so I hope it will be of help to those of you who are getting into miniature painting. Maybe you can learn from my mistakes or maybe understand the techniques better than I do. I basically followed the steps given here.If you are trying your hand at painting for the first time, try not to be too worried, you will be surprised by what you can do.
1. Get everything out and take a nice picture for a before and after.


 The white paint was the base for the gemstones, fires, and skulls to make sure they would really pop.


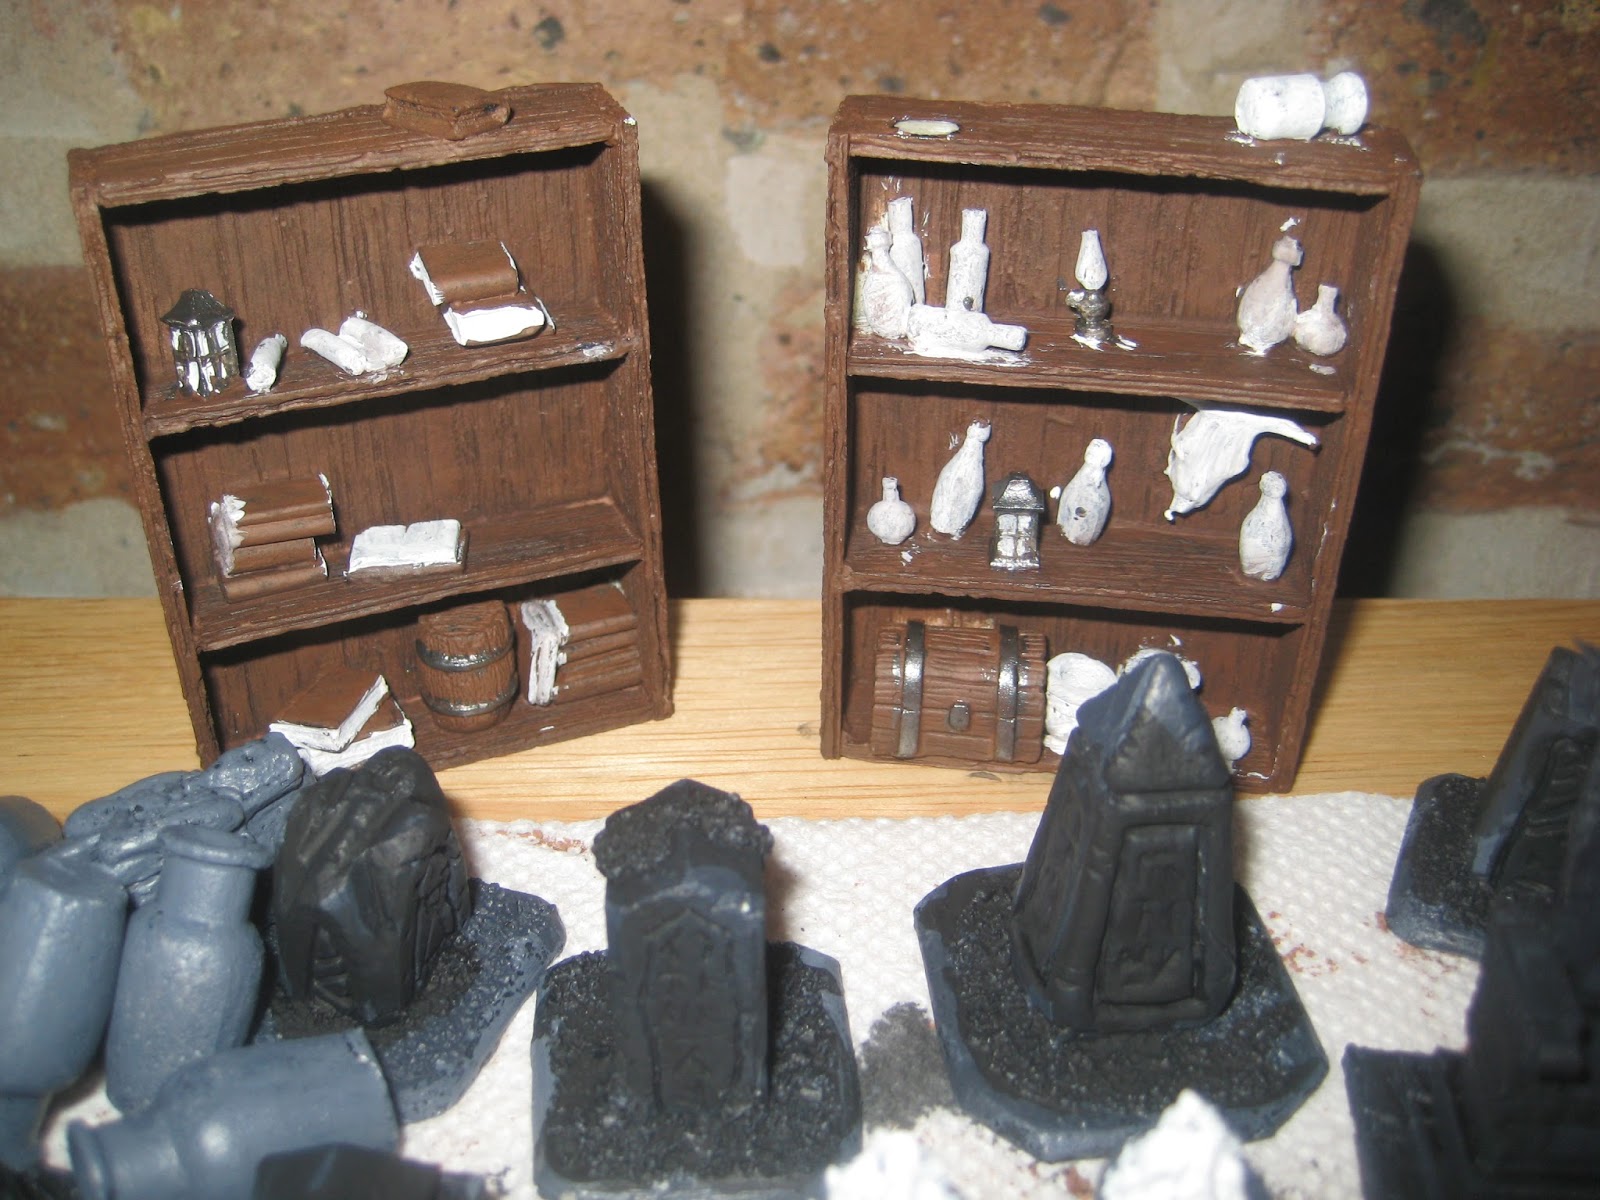
After all these steps, I have a pretty serviceable set of wooden and stone items. In part II I will paint the bottles, books, gems, fires, and more. Part II
This is my first attempt at some real miniature work, so I hope it will be of help to those of you who are getting into miniature painting. Maybe you can learn from my mistakes or maybe understand the techniques better than I do. I basically followed the steps given here.If you are trying your hand at painting for the first time, try not to be too worried, you will be surprised by what you can do.
1. Get everything out and take a nice picture for a before and after.
2. Wash the pieces in soapy water and scrub lightly to remove any mold release remaining.
3. Use an exacto or craft knife to remove any flash or mold lines.
4. Assemble all the pieces together. I used a combination of E6000 and super glue. The E6000 has a little give but is a little less precise, so I used it for any small, fragile joint or for pieces that could see a lot of wear. The carts and the open coffins were the two most annoying pieces to get together, I had to use a little hot glue to really get them to stay. For the pieces with smaller bases, I E6000'd them to a small washer. The super glue was great for flat surface to flat surface quick bonding.
5. Base everything black with spray paint. By keeping the can a moderate distance away, I was able to get a thin coat that did not cover up any details. Warning, be patient and take your time. Trying to move the pieces around to do all the sides and the base quickly might result in you accidentally pulling off spray paint. I used disposable latex gloves so I avoided getting paint on my hands.
6. Paint on a base color in the neutral color for the piece. For the dungeon dressing, this split my items into three base colors: brown for wooden items, grey for stone, and beige for sandstone. I used a slightly watered down paint at first, but personally found it easier and more covering to not water it down (although this might be based on my inexperience as a painter and/or my cheaper craft paints). The brown pieces took at least four coats, but the beige and grey went on quicker.
See below where I based the glass and paper items in white to make them brighter when I paint colors on them later. Also see where I messed up my stone pieces by used a wash that was not watered down enough so it just sat on top and darkened everything instead of leaking down into the gaps.
7. For each color, I chose a dark version of that color to do a very watered down wash. I also added a gunmetal to any pieces that had metal bindings, locks, or handles.
8. Lastly, I took a lighter version of each of those colors to do a dry-brush to highlight the raised areas and add some texture to the piece. Notice some of the pieces where I second guessed myself and tried to re-darken the coffin. It still looks nice, but unless you really messed up, just trust your first go-over (if you really messed up, re-base and start over).
Comments
Post a Comment